


Learning to braid your own hair at home can feel intimidating at first — but with the right technique and a bit of practice, most braids are far more achievable than they look.
This guide covers the essential braiding techniques, explains which styles work best for different skill levels, and offers honest tips for getting better results.
Updated for 2026 with trending braid styles and practical how-to instructions.
Before You Start: Setting Up for Success
Braiding is easier when your hair has the right texture and you have the right tools ready.
Hair Preparation
- Day-old hair works best — freshly washed hair is often too slippery and smooth
- Add texture if needed — a light texturizing spray or dry shampoo helps with grip
- Detangle thoroughly — knots will make braiding frustrating and uneven
Tools You’ll Need
- Small clear elastics
- Bobby pins (for securing ends or flyaways)
- A second mirror (to see the back of your head)
- Optional: edge control gel for a sleeker finish
Essential Braiding Techniques
1. Classic Three-Strand Braid

Difficulty: Beginner | Best for: Learning the basics
This is the foundation of all braiding. If you can master this, every other braid becomes easier.
- Divide hair into three equal sections
- Cross the right section over the middle (right becomes the new middle)
- Cross the left section over the middle (left becomes the new middle)
- Repeat until you reach the ends
- Secure with an elastic
Common mistake: Uneven sections create a lopsided braid. Take time to divide evenly at the start.
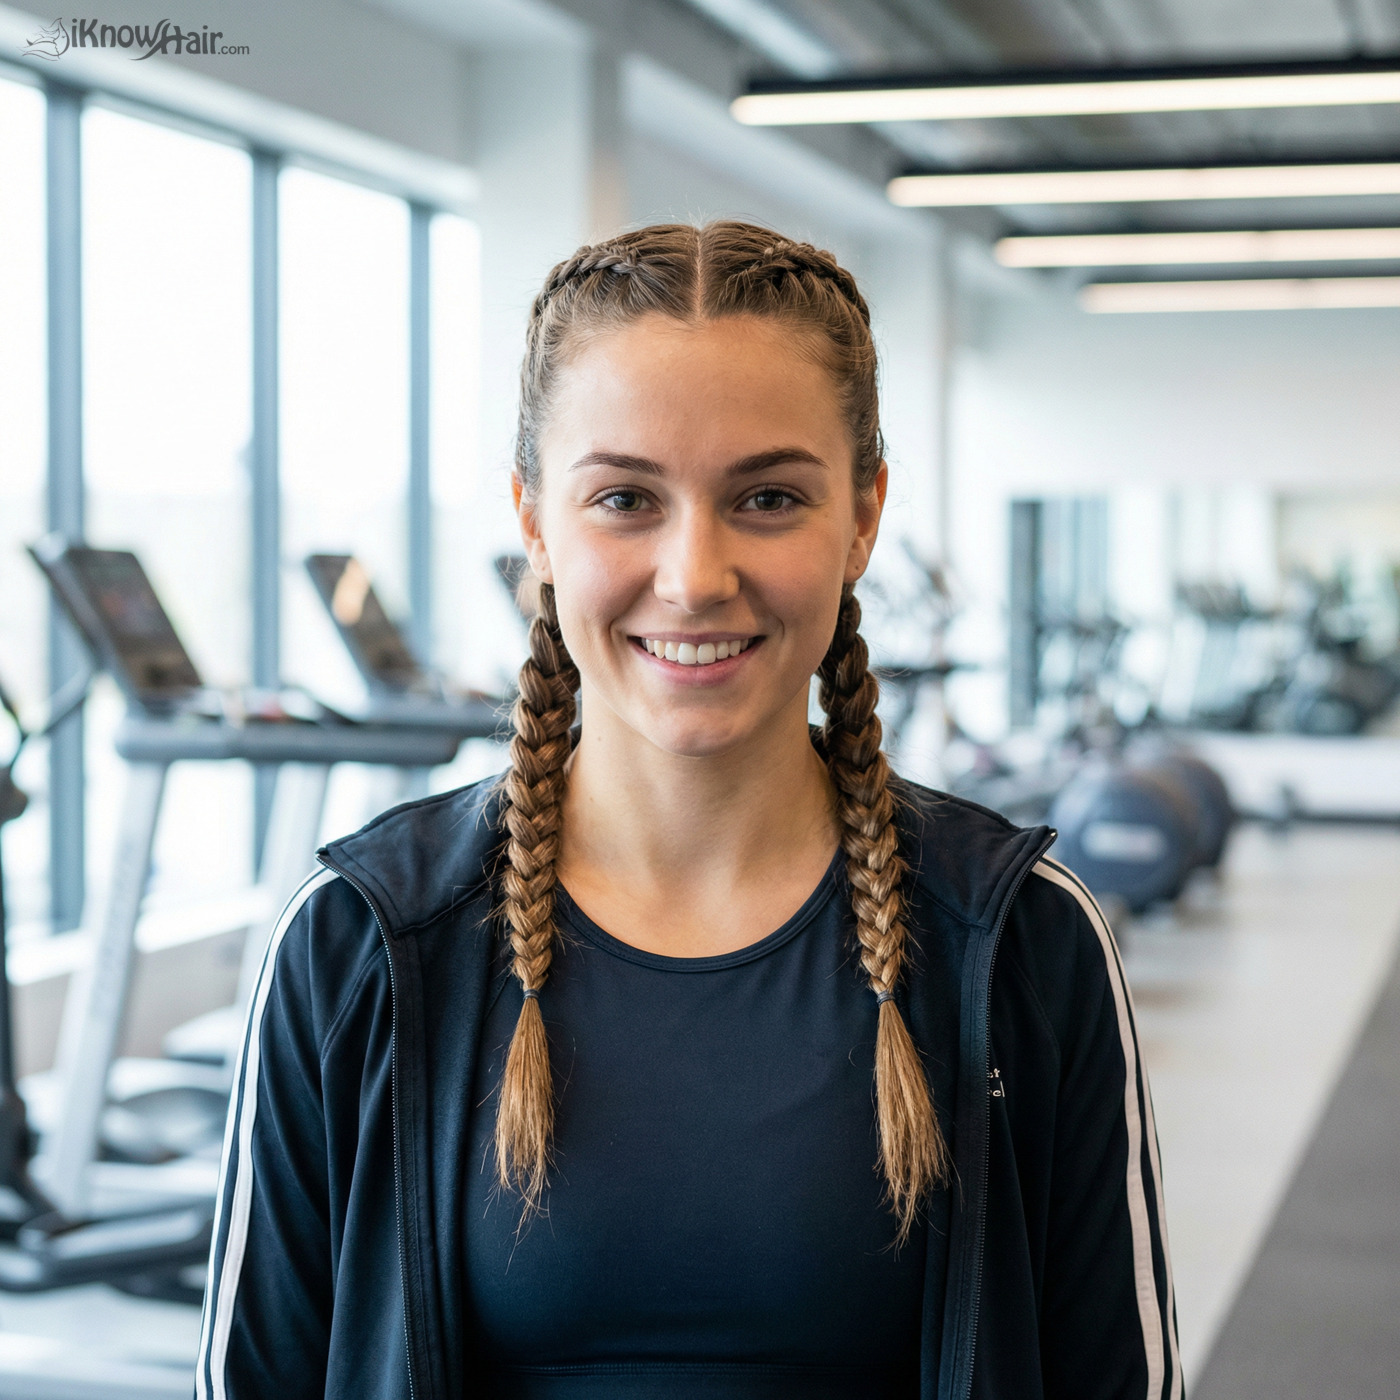
2. French Braid
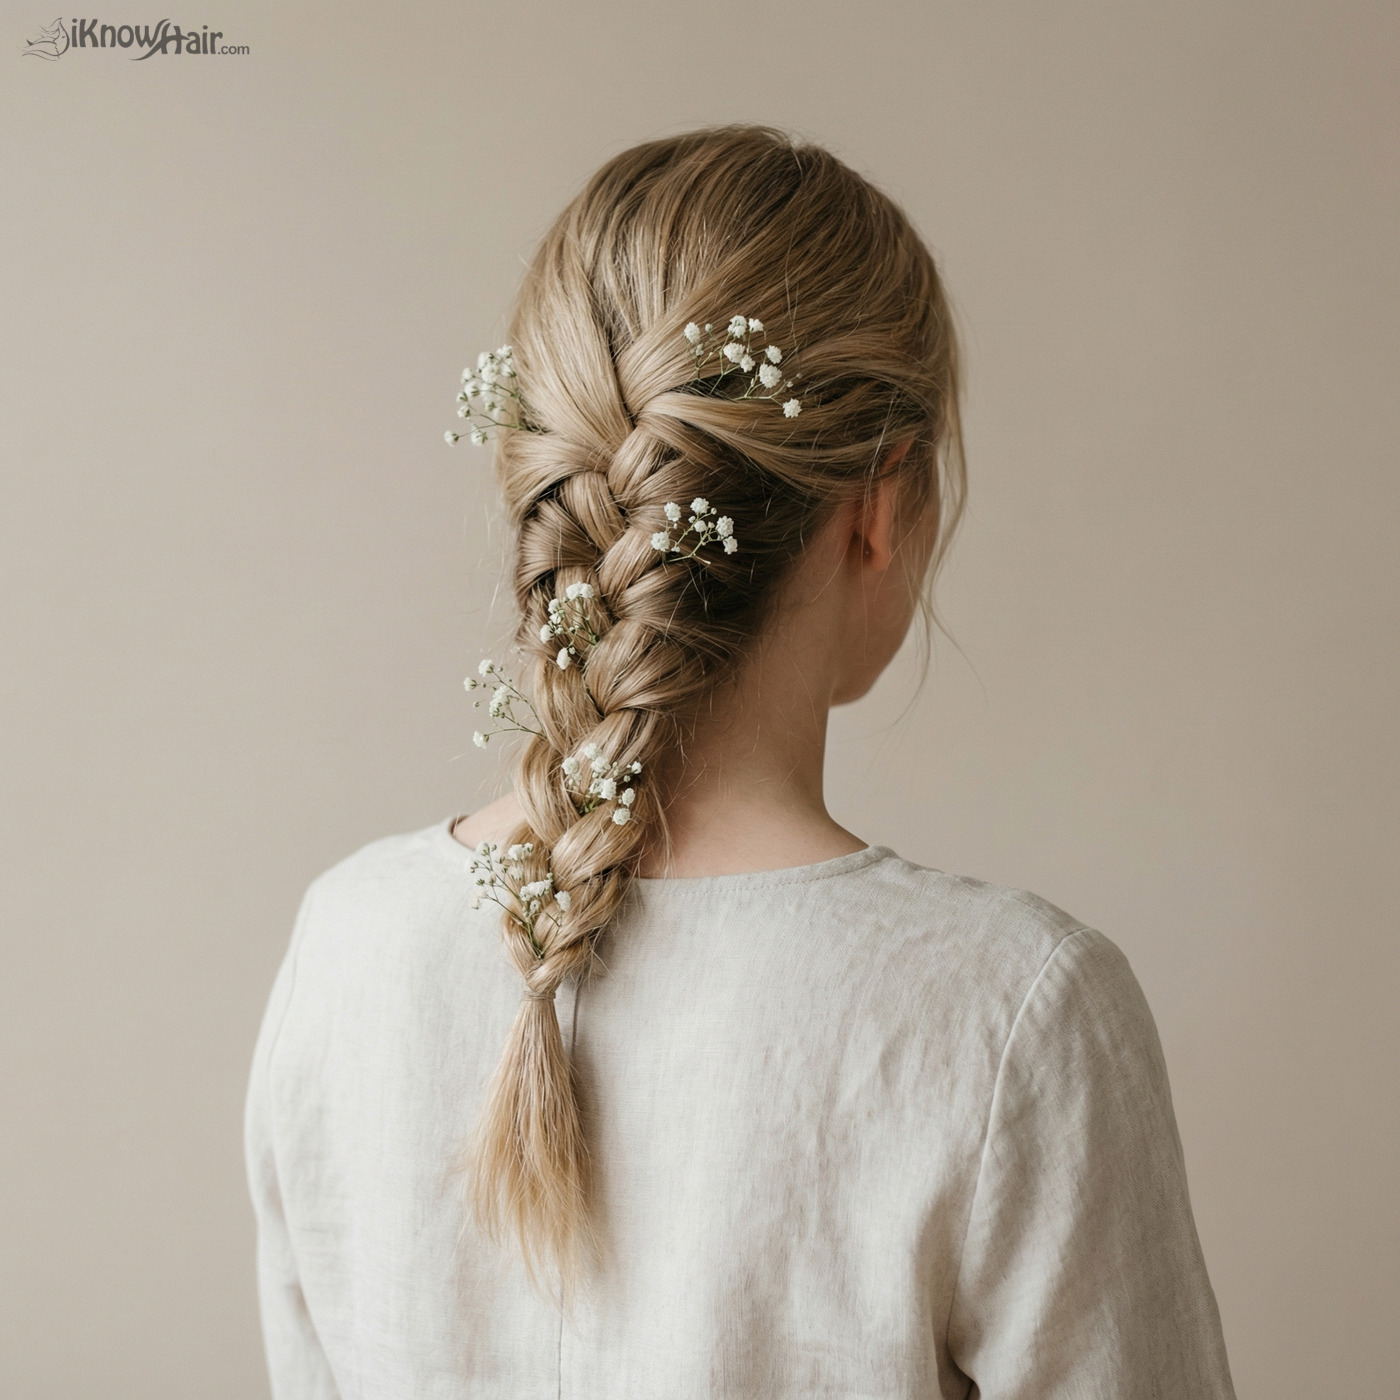
Difficulty: Intermediate | Best for: All-day hold, elegant look
A French braid incorporates hair as you go, keeping everything secure close to the head.
- Take a section at the crown and divide into three strands
- Begin a regular braid (right over middle, left over middle)
- Before each cross, add a small section of hair from that side
- Continue adding hair until you reach the nape of your neck
- Finish with a regular three-strand braid and secure
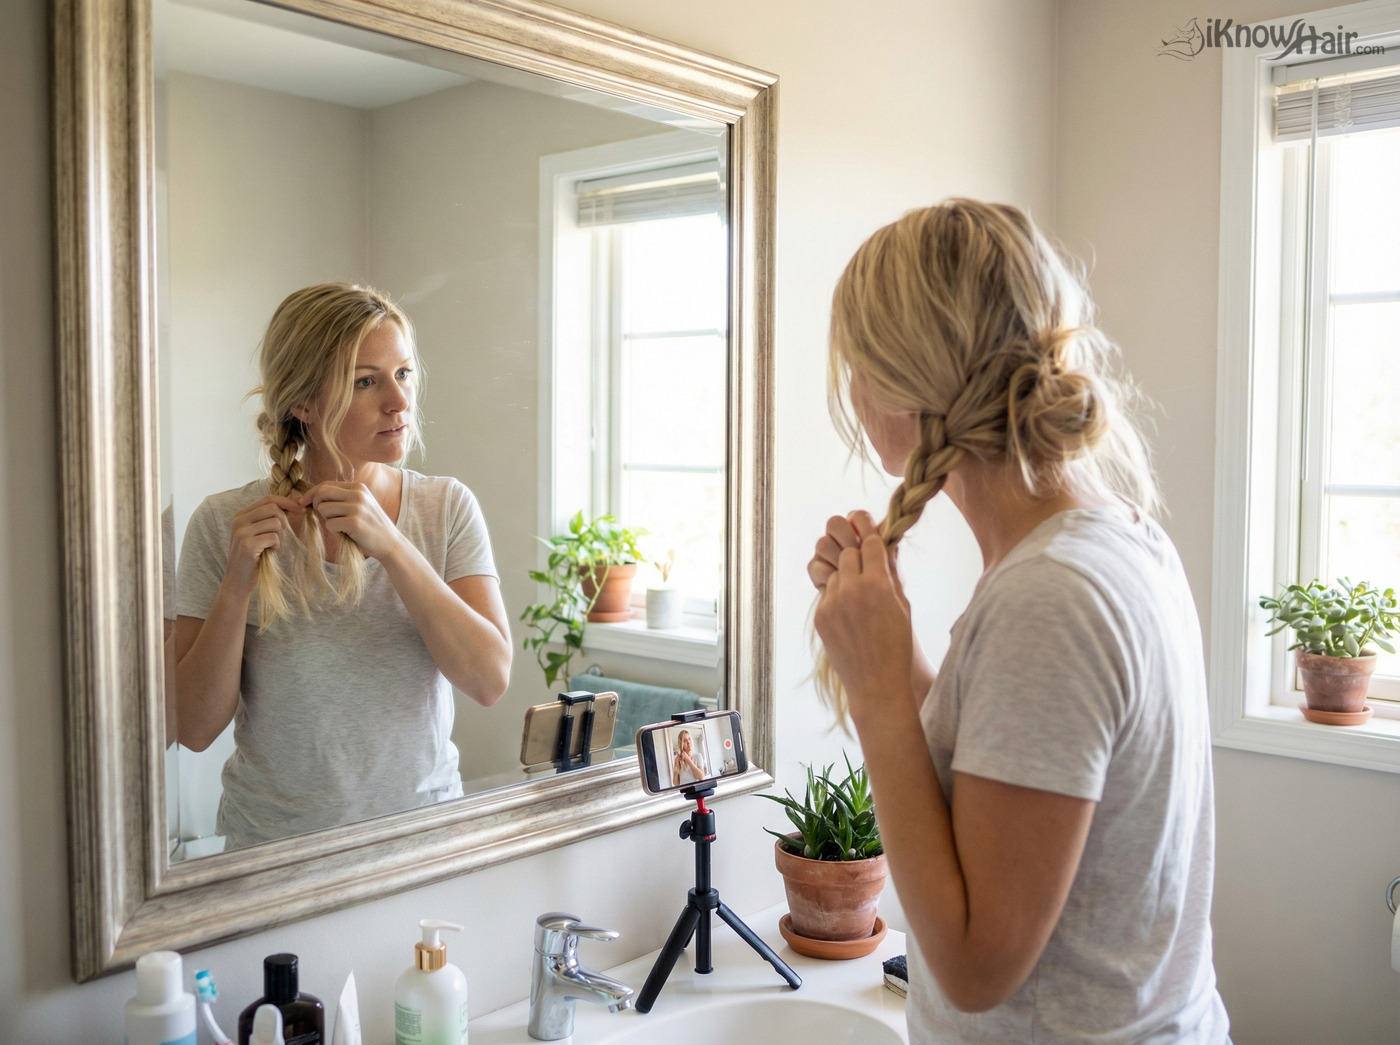
Why it’s tricky on yourself: You can’t see the back of your head. Use two mirrors or practice by feel — it gets easier with repetition.
3. Dutch Braid
Difficulty: Intermediate | Best for: Bold, raised look
A Dutch braid is sometimes called an “inside-out French braid” because it sits ON TOP of the hair instead of lying flat.
- Same technique as French braid, but cross sections UNDER the middle instead of over
- This creates a 3D effect where the braid pops out
Best for: Athletic styles, festival looks, or when you want the braid to be the focal point.
4. Fishtail Braid
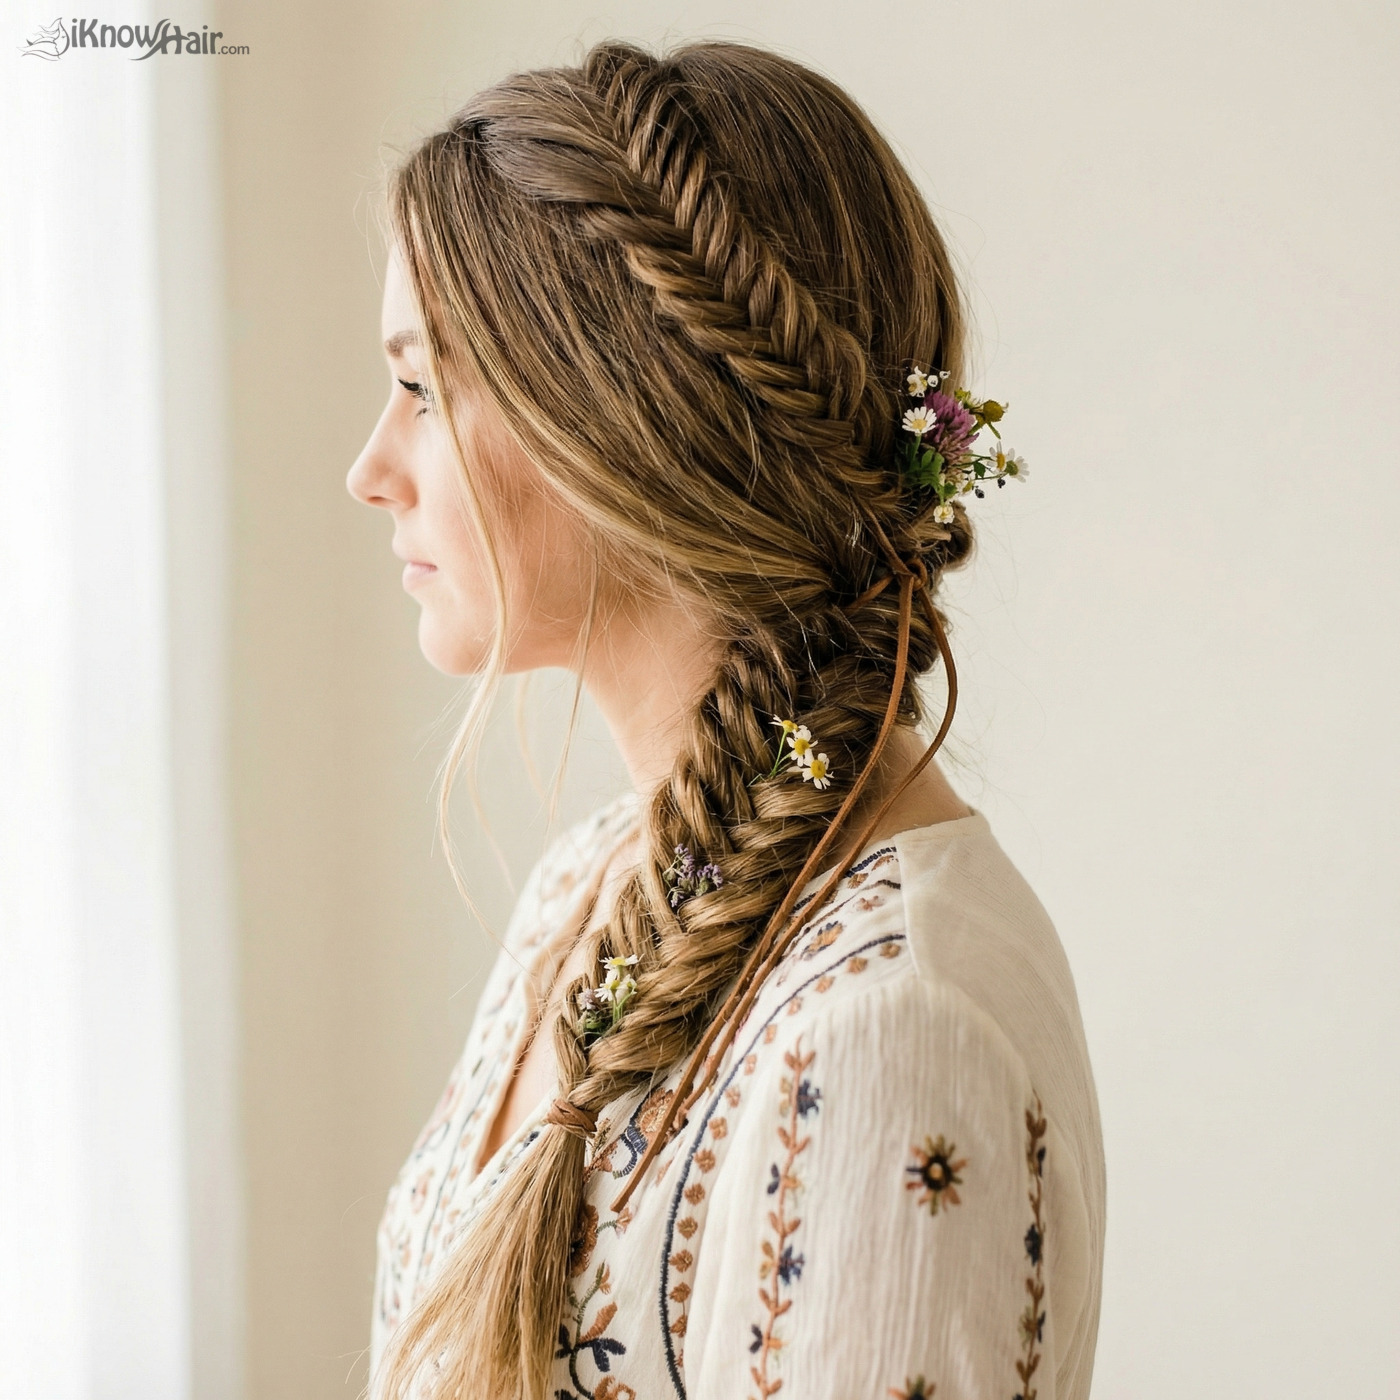
Difficulty: Easy technique, requires patience | Best for: Bohemian, detailed look
Despite looking complex, fishtail braids use a simpler two-section technique.
- Divide hair into two sections (not three)
- Take a thin piece from the outer edge of the right section
- Cross it over to join the left section
- Take a thin piece from the outer edge of the left section
- Cross it over to join the right section
- Repeat, alternating sides
Pro tip: The thinner the pieces you take, the more intricate the braid looks. Thicker pieces = faster but chunkier result.
Trending Braid Styles for 2026
Double Dutch Braids
What it is: Two Dutch braids, one on each side of a center part.
Best for: Workouts, casual days, or creating heatless waves (sleep in them overnight).
Skill level: Intermediate — requires even sectioning and symmetry.
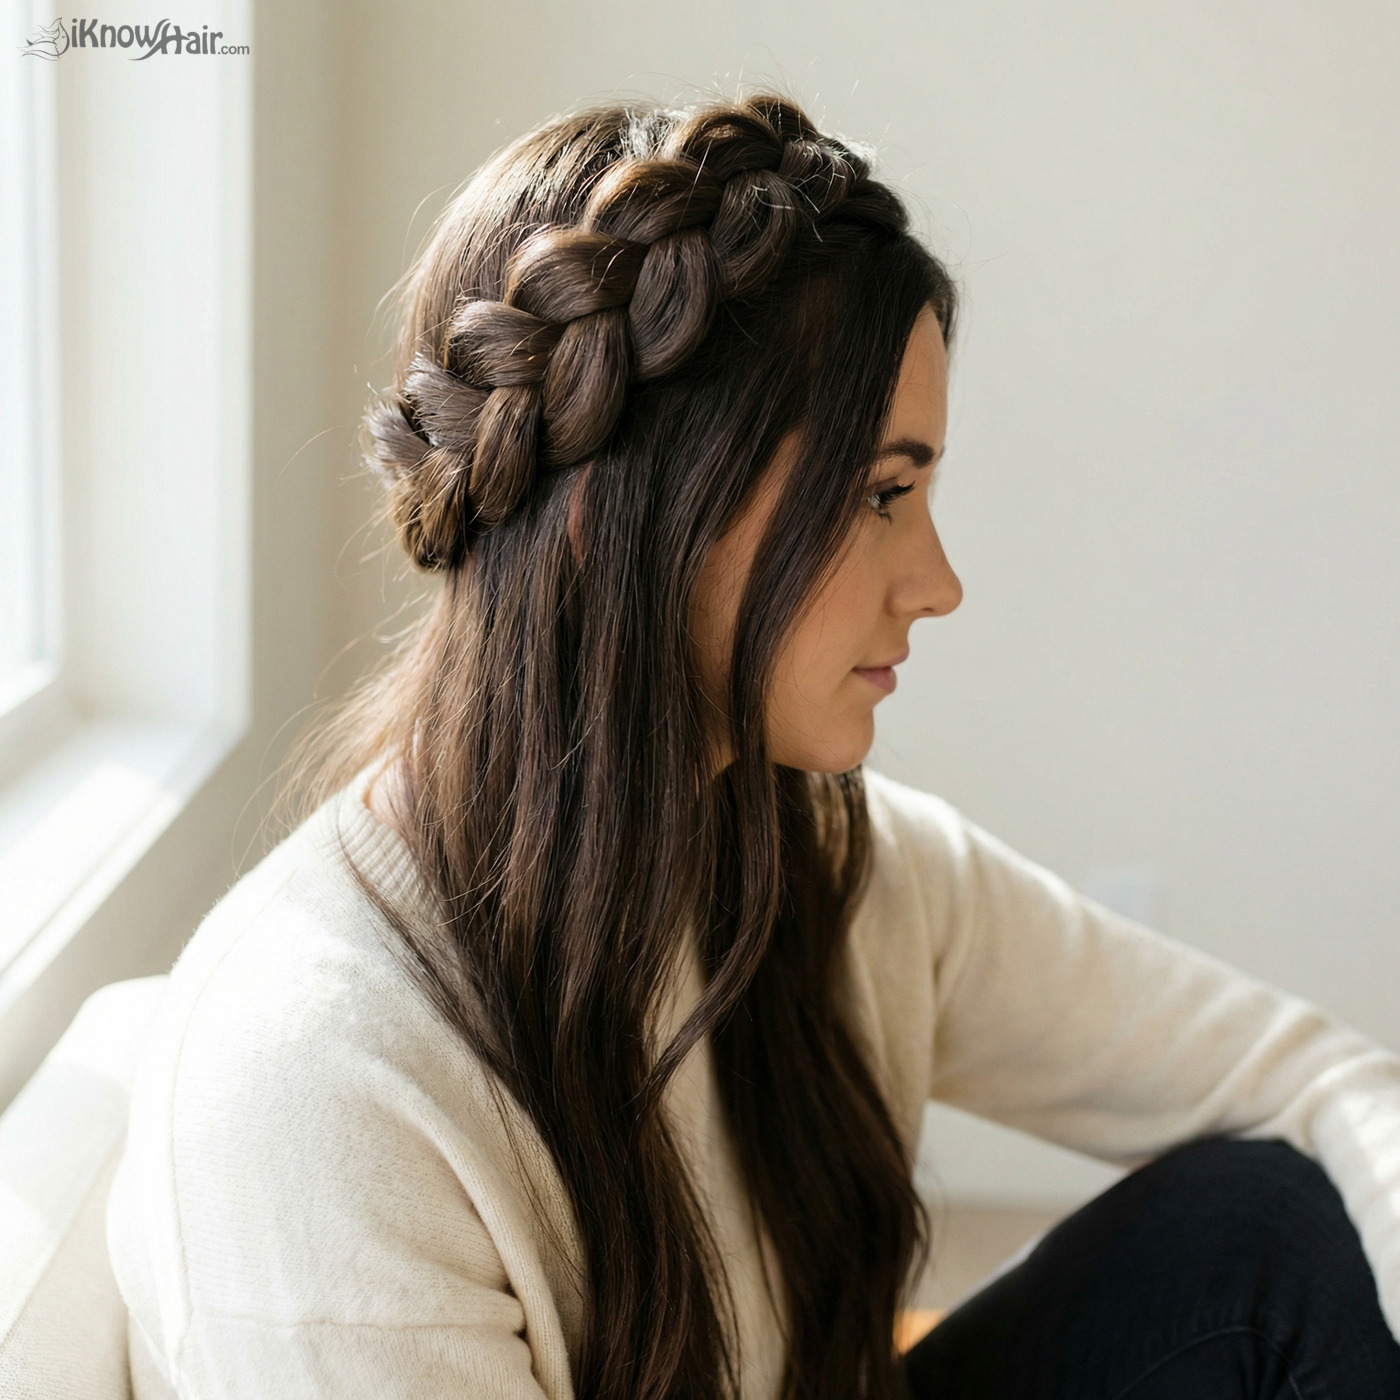
Braided Crown
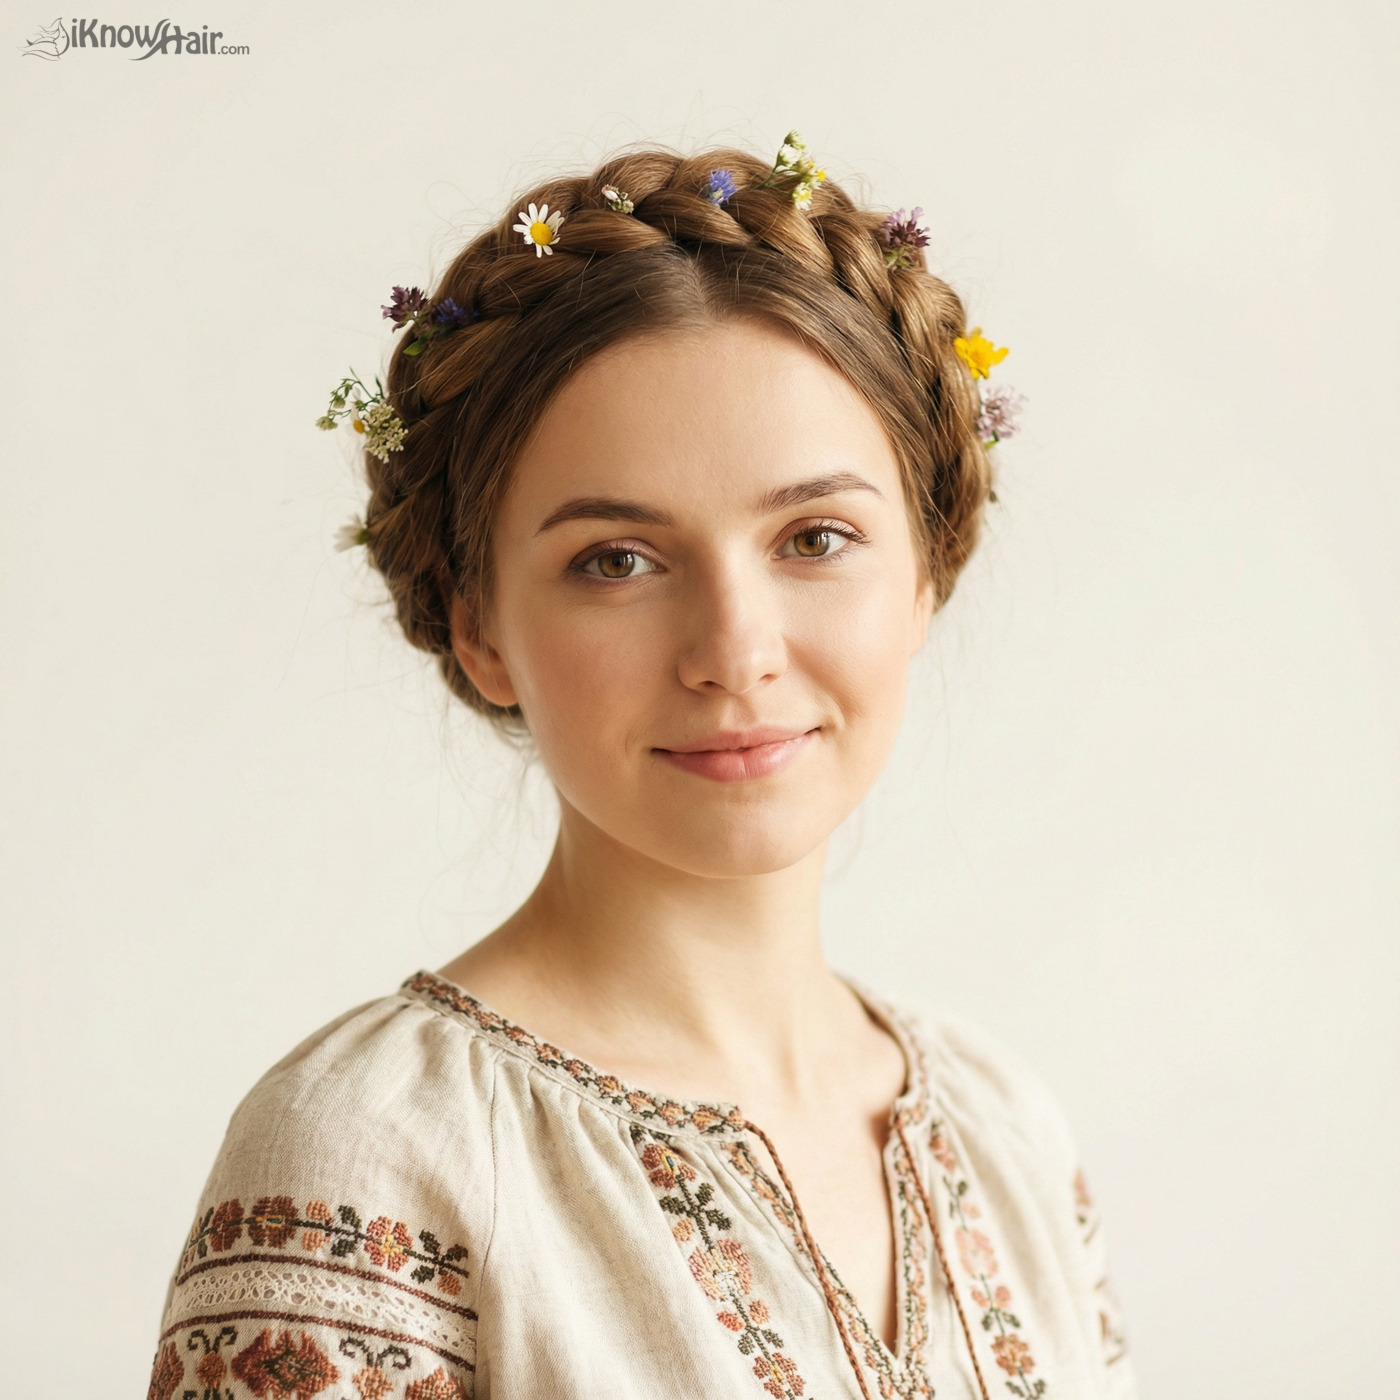
What it is: A braid that wraps around the head like a crown or halo.
Best for: Weddings, festivals, romantic occasions.
Skill level: Advanced — easier if you braid two pigtails first, then wrap and pin.
Bubble Braid
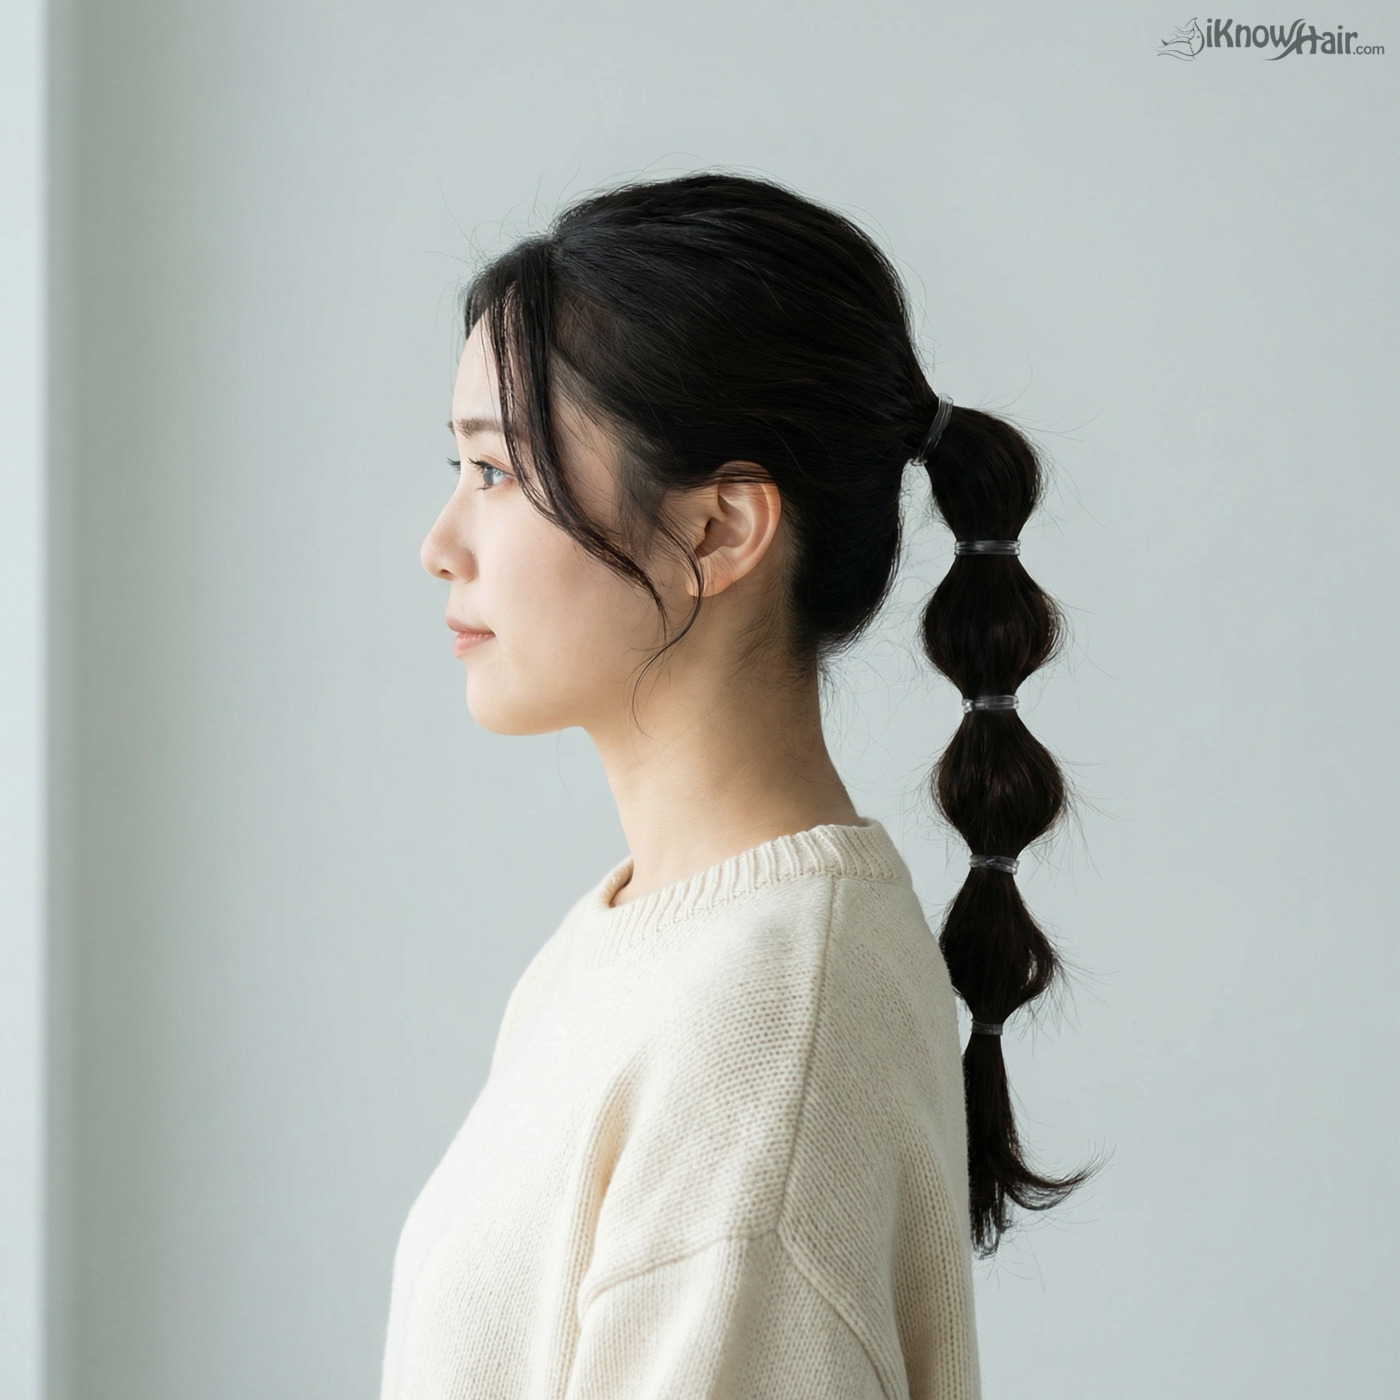
What it is: A ponytail with elastics placed at intervals, gently pulled to create “bubbles.”
Best for: Quick style, no actual braiding required.
Skill level: Beginner — great for people who struggle with traditional braids.
Side Braid

What it is: Any braid pulled over one shoulder.
Best for: Easy elegance, works with any braid type.
Skill level: Depends on the braid — a simple side braid is very beginner-friendly.
Braided Ponytail
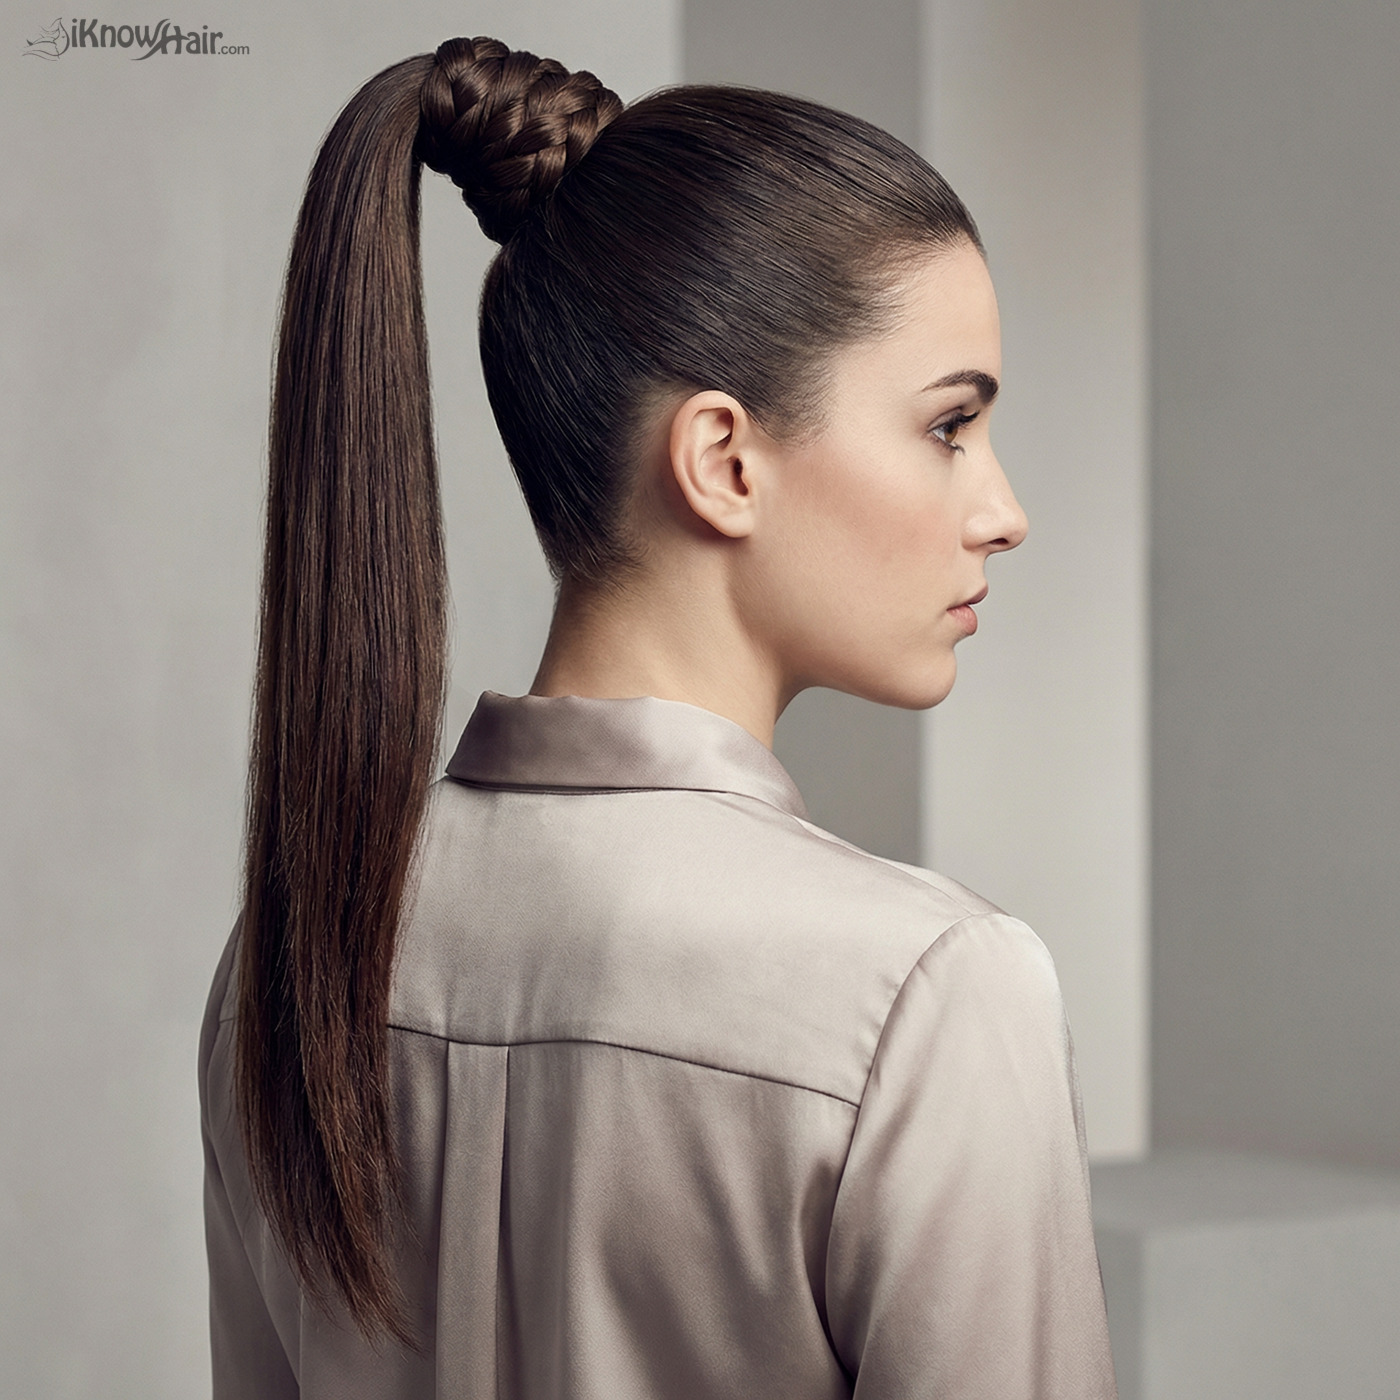
What it is: A ponytail with braided elements — either the ponytail itself is braided, or a braid wraps around the base.
Best for: Adding interest to a simple ponytail.
Skill level: Beginner to intermediate.
Troubleshooting Common Problems
| Problem | Why It Happens | How to Fix It |
|---|---|---|
| Braid is too loose | Inconsistent tension | Pull each section snug before crossing |
| Braid looks uneven | Different sized sections | Take time to measure sections evenly |
| Hair is too slippery | Clean hair lacks grip | Add texturizing spray or braid day-old hair |
| Too many flyaways | Short layers or baby hairs | Use edge control gel or light hairspray while braiding |
| Braid looks flat/thin | Natural braid compression | “Pancake” by gently pulling edges after securing |
| Arms get tired | Normal — braiding is physical | Rest elbows on a table, take breaks |
Which Braid Should You Start With?
If you’re new to braiding, here’s a realistic progression:
- Start with a side three-strand braid — you can see what you’re doing
- Move to a fishtail — only two sections, very forgiving
- Try a French braid on someone else first — learn the motion before attempting on yourself
- Practice Dutch braids — same as French but crossing under
- Combine techniques — double braids, crown braids, etc.
Most people need 5-10 attempts before a new braid style feels comfortable. Don’t be discouraged if your first tries look messy — that’s completely normal.
How Long Does Hair Need to Be?
- Shoulder length or longer: Can do most braids
- Medium length (chin to shoulder): Side braids, partial braids, braided bangs
- Short hair: Limited options, but accent braids along the hairline are possible
Layers can make braiding trickier — shorter pieces may slip out. Use bobby pins to secure them.
Making Braids Last Longer
- Finish with a light-hold hairspray
- Secure the end with a small, tight elastic
- Use bobby pins for any loose sections
- Sleep with a silk scarf or bonnet to reduce frizz overnight
- Refresh in the morning by smoothing flyaways with a tiny bit of gel
Final Thoughts
Braiding at home is a skill that genuinely improves with practice. Your first attempts may be frustrating, but muscle memory develops quickly — most people see significant improvement within a few sessions.
Start with simpler styles, be patient with yourself, and don’t hesitate to undo and restart. The goal isn’t perfection; it’s progress.
For a more advanced technique, check out our waterfall braid tutorial.
Editorial Note: This guide is based on common braiding techniques and practical experience. Results vary based on hair type, length, and texture. Practice is the most important factor in improving your braiding skills.